Sunday, August 28, 2016

Mixed Media Canvas.

.
I glued some acrylic skin on the canvas. In the corner I added a medicine vial.


I made an origami cube, that I glued on the canvas.


I painted the background and covered it with tissue paper, and just went from there by adding different things to it. Blessings, Renate

My first Happy Planner for my daughter Tabatha.


I laminated the cardstock on 3mm, and run it thru twice. Then I put it in an other sleeve and run it thru twice at 5mm, to make it sturdier.


This is the inside.


She loves anything "Beach". So, I made her a beach shaker pocket with real beach sand.


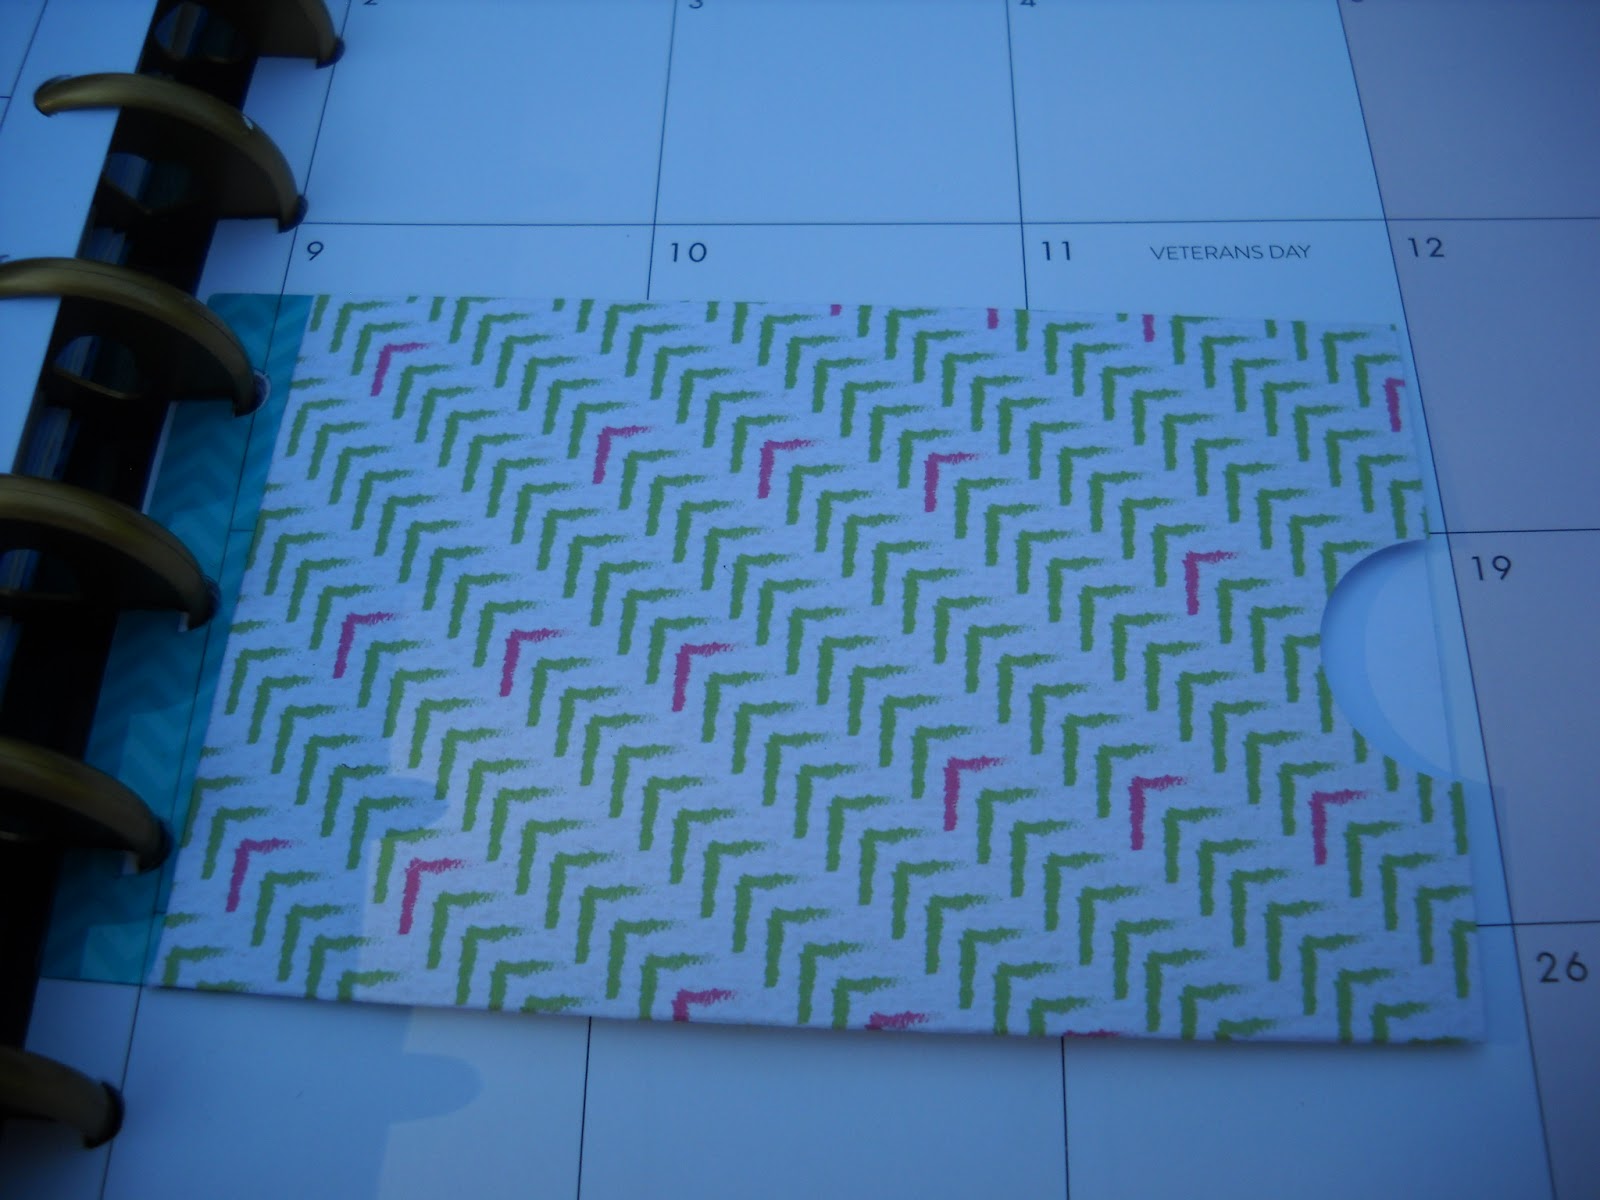
These are 4 pockets made with a sheet of trading card pages and cut and fused to size.


Here I just used a folder I found at the dollar store.


These clear adhesive pockets, are from the Dollar section at Target. I just made the tag to put in it.


I laminated a beachy cardstock and then added epoxy stickers and a 3D palm tree.


I've seen a tutorial on You Tube, where someone used a flexible cutting board from the Dollar store to make these page dividers. Love that idea, and they are very sturdy.


Pockets.


I like that quote. I used oil pastels for the background then printed the quote on it.


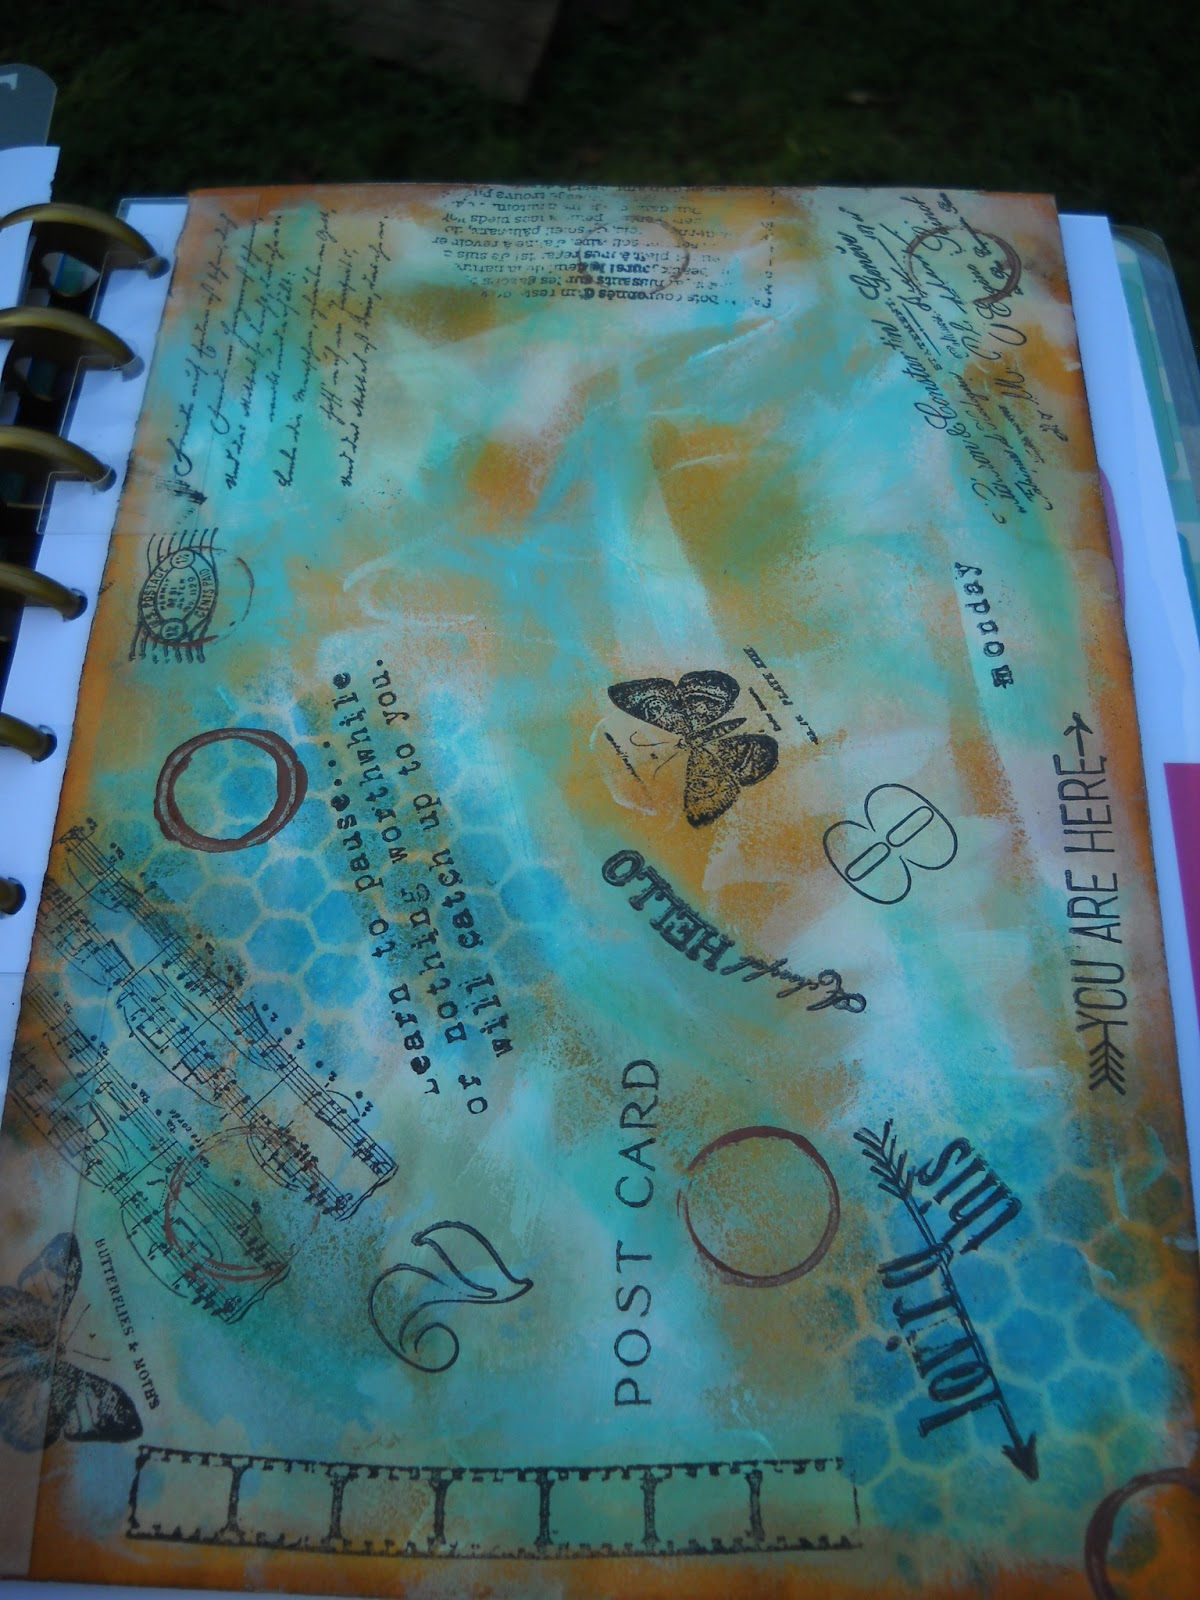
Mixed media envelope.


Just a little board with flags and paper clips and post it notes.


On top of this pocket is also a clear pocket.


A leftover from the flexible cutting board. on top are 2 small pockets.


Ziplock bag for anything.


She likes Johnny Depp. I just laminated the picture quote and put it in the planner.


A little adhesive pocket from Heidi Swapp. I attached it to a sturdy folder piece. The pocket only has 2 strips of adhesive in the back, so I added a few more strips of double-sided tape.


I laminated the back, the same way as I did the front.


It was fun creating this Planner. I hope you give it a try. I'm working on my Planner now. I paid 18 Dollars for the Planner with my 40% off coupon at Hobby Lobby.
Blessings, Renate

Tuesday, June 14, 2016

Mixed Media "Hello" Card.


Blessings, Renate

Faux Mini Crate.


I couldn't find a tutorial on how to make a crate, so I designed my own.


I painted all the pieces with black acrylic paint. then I just used my fingers and applied the white and brown colors.


On the bottom I glued 2 cardboards together and painted them black. For the "nails", I punched out some copper cardstock and put Glossy Accents on it and let it dry overnight.
Blessings, Renate

Sunday, June 5, 2016

"Hello" Shaker Card.


For the background I used old book pages and stenciled over that.
For the tag I used my oil paints then I embossed it and added UTEE over it.
I used a small bag and filled it with sequins and then just glued the sides of the bag
to the back of the tag.
Then I glued it to the card.


This is an origami paper storage pocket. I found the tutorial at Paper Kawaii.


This little shaker bag I closed with the fuse tool.


On this mug I used some UTEE and white embossing powder.


I'm still trying to decide how to finish this up.. since I want to add it to the inside of the card..I just might fold both the flaps to the back.


This is how I finished the inside of the card. I cut the two flaps off and just glued it to the card.


Blessings, Renate

Saturday, May 14, 2016

"Enjoy every Day" Card.


I embossed the front of the card. Then I used water soluble oil pastels to color the embossed surface. I love these oil pastels because they blend really well. It just takes a long time to dry, if it ever does. Thats why I covered the whole front in UTEE. And the result is great. Then I added the material and banner.


I got this out of an old dictionary. I highlighted the patience part.


Here you can partly see the UTEE on the left side.
Blessings, Renate