Sunday, December 27, 2015

Christmas Card for my daughter Samantha.


I made a magnet, she can put on her fridge. I just glued some paper on a piece of cardstock and punched it out, and added an epoxy sticker, and a magnet on the back.


Teabag folding with book paper.


Miniature music sheet.


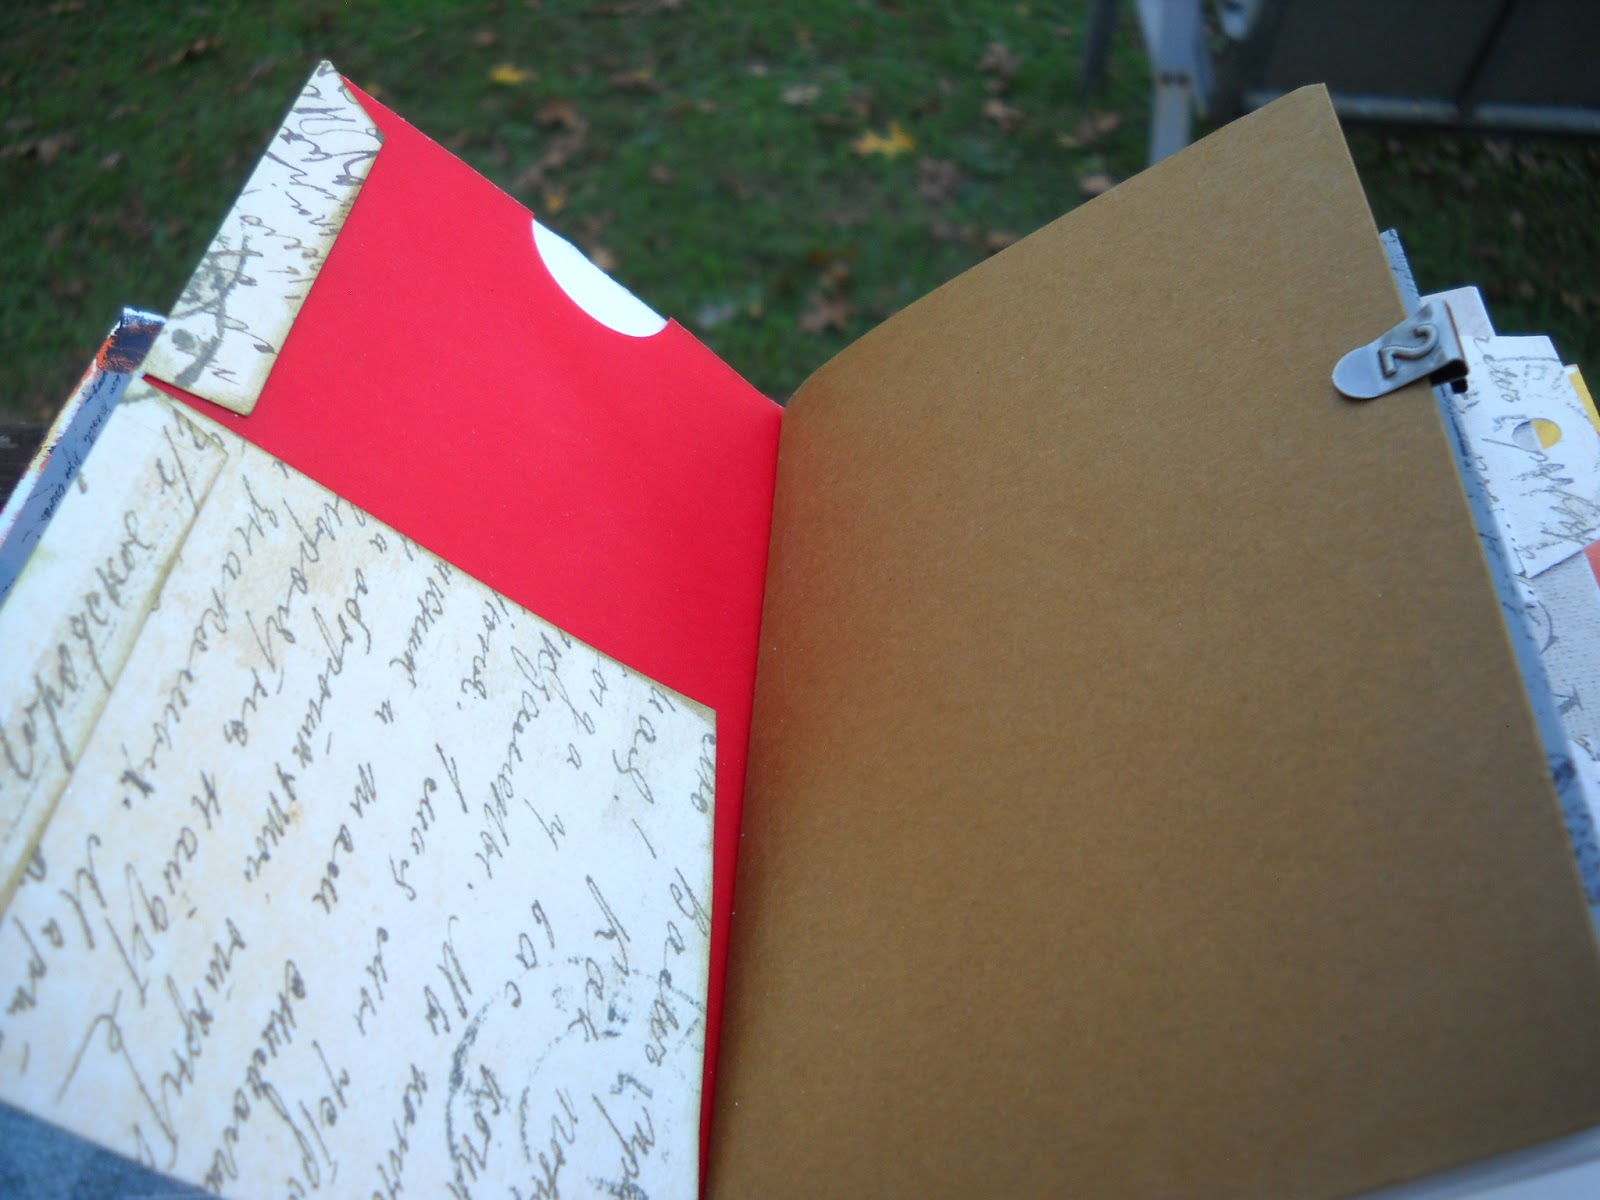
I also added a small pocket and a file folder. And I left some space where she can add stuff to it.
Blessings, Renate


My first Kusudama Ball.


This ball took a while to make. You need 30 pieces to complete it. The first time I tried to put it together, I didn't have enough pieces, and it made an oval!!!!
So I took it apart and started over. On my second try and a few more pieces it worked out great. I mixed book pages with magazine pages.


The result is well worth the work. I used 4x4 squares. You can find instructions on You Tube.
I watched the Paper Pixie video. Blessings, Renate

Friday, December 25, 2015

Origami "Jump" Ball No. 3


I used pages from an old book and inked up the edges.


I tied some string at all points.


As with the other two, I glued down the flaps.


Origami "Jump" Ball No. 2


This time I recycled some of my Christmas Cards.


My first Origami "Jump" Ball.


I found a tutorial on You Tube (Happyfolding.com). The only thing I did different, I glued my flaps down before putting the ball together. Made it very sturdy.


For the bottom paper I used 80lbs. cardstock. And for the top piece I just used up my scraps.


On all the flat parts I put some UTEE on it. I also added some bling. I will be making an other one, since they are easy to make. Blessings Renate

Sunday, November 29, 2015

Floating Chevron Card.


I don't have a chevron punch, so I used my chevron die to make the cutouts. I first cut my panel out, then I added a piece of acetate behind it, then I glued my cutouts behind it. And behind that I glued a panel of an old dictionary page, and then glued it on my card. On the hope cutout I put a layer of UTEE on it.


Here's a close-up.


This is my chevron die. It worked quite well. I just measured the panel 2 inches wide by 6 inches long. Afterwards I cut the excess off. I left a 1/4 inch border all around the panel. Then marked off 1 inch all the way down the panel. This worked well for my die.
Since I used glue dots to glue everything down I got some 3D effect on the chevron panel.
This card took me awhile to put together, but well worth it.
Blessings, Renate

Mini Milk Carton.


Thursday, November 26, 2015

Teacups.


I found a tutorial from Linda Parker online. I don't have an envelope punchboard so I used my corner punch at the bottom. Turns out, it makes like little hearts.


On this one I used rolled up magazine paper. On top, to cover the tubes I put eyelets and screws.


For the handle I just squashed a tube and cut it to size. Very sturdy.


It was fun to make these teacups.
Blessings, Renate

Tuesday, November 10, 2015

Another Faux Dori.


This Faux Dori is a bit smaller then the other one. But as usual I cover everything with Mod Podge.


The back side. I used acrylic paint to cover the front and back and inside.


On the inside front I added 3 Pockets.


On the left is a folder.


The same folder only smaller.


The next few pictures are acetate pockets .


Two Pockets in the front...


...and back.


Another pocket for big tags.


On the left is a clear pocket and on the right another folder.


The inside back cover.


Here you can see the size difference. The small one has 4 booklets in it. I hope you will give it a try and make one., It took me weeks to make these, but the result are well worth it. .
Blessings, Renate