I laminated the cardstock on 3mm, and run it thru twice. Then I put it in an other sleeve and run it thru twice at 5mm, to make it sturdier.
This is the inside.
She loves anything "Beach". So, I made her a beach shaker pocket with real beach sand.
These are 4 pockets made with a sheet of trading card pages and cut and fused to size.
Here I just used a folder I found at the dollar store.
These clear adhesive pockets, are from the Dollar section at Target. I just made the tag to put in it.
I laminated a beachy cardstock and then added epoxy stickers and a 3D palm tree.
I've seen a tutorial on You Tube, where someone used a flexible cutting board from the Dollar store to make these page dividers. Love that idea, and they are very sturdy.
Pockets.
I like that quote. I used oil pastels for the background then printed the quote on it.
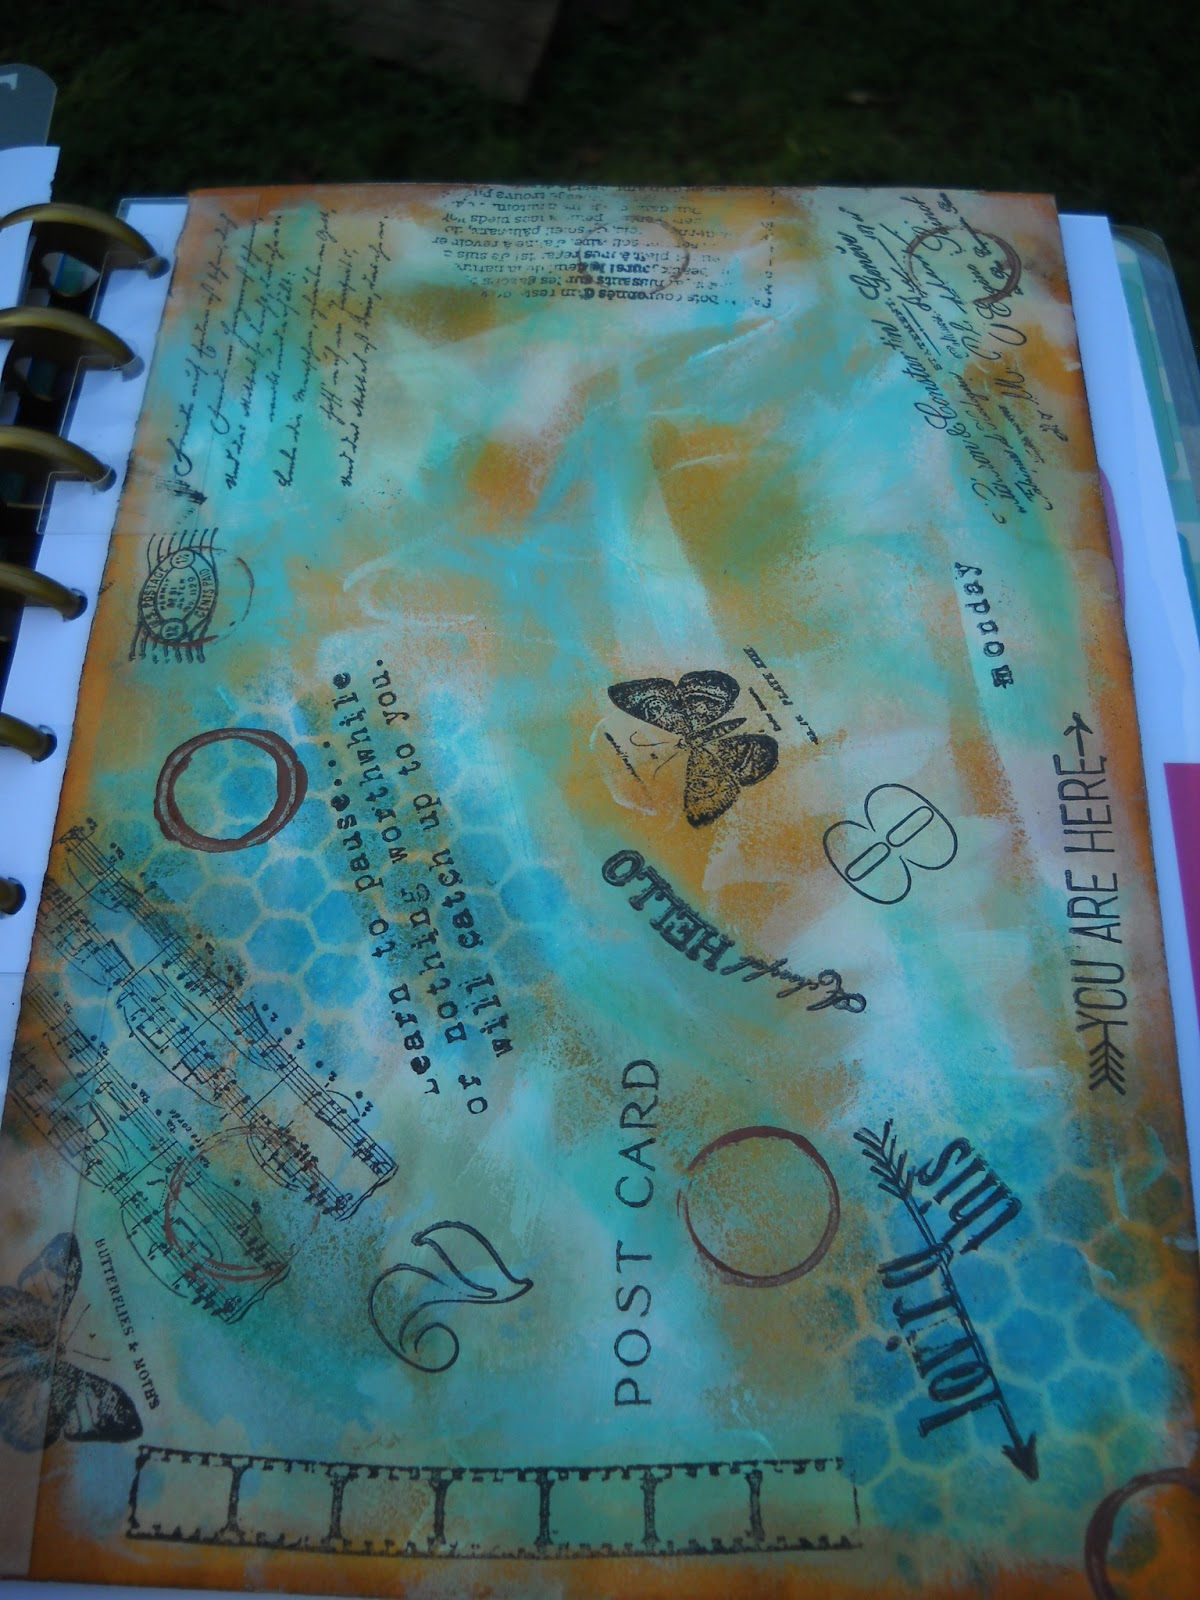
Mixed media envelope.
Just a little board with flags and paper clips and post it notes.
On top of this pocket is also a clear pocket.
A leftover from the flexible cutting board. on top are 2 small pockets.
Ziplock bag for anything.
She likes Johnny Depp. I just laminated the picture quote and put it in the planner.
A little adhesive pocket from Heidi Swapp. I attached it to a sturdy folder piece. The pocket only has 2 strips of adhesive in the back, so I added a few more strips of double-sided tape.
I laminated the back, the same way as I did the front.
It was fun creating this Planner. I hope you give it a try. I'm working on my Planner now. I paid 18 Dollars for the Planner with my 40% off coupon at Hobby Lobby.
Blessings, Renate