Tuesday, June 14, 2016

Mixed Media "Hello" Card.


Blessings, Renate

Faux Mini Crate.


I couldn't find a tutorial on how to make a crate, so I designed my own.


I painted all the pieces with black acrylic paint. then I just used my fingers and applied the white and brown colors.


On the bottom I glued 2 cardboards together and painted them black. For the "nails", I punched out some copper cardstock and put Glossy Accents on it and let it dry overnight.
Blessings, Renate

Sunday, June 5, 2016

"Hello" Shaker Card.


For the background I used old book pages and stenciled over that.
For the tag I used my oil paints then I embossed it and added UTEE over it.
I used a small bag and filled it with sequins and then just glued the sides of the bag
to the back of the tag.
Then I glued it to the card.


This is an origami paper storage pocket. I found the tutorial at Paper Kawaii.


This little shaker bag I closed with the fuse tool.


On this mug I used some UTEE and white embossing powder.


I'm still trying to decide how to finish this up.. since I want to add it to the inside of the card..I just might fold both the flaps to the back.


This is how I finished the inside of the card. I cut the two flaps off and just glued it to the card.


Blessings, Renate

Saturday, May 14, 2016

"Enjoy every Day" Card.


I embossed the front of the card. Then I used water soluble oil pastels to color the embossed surface. I love these oil pastels because they blend really well. It just takes a long time to dry, if it ever does. Thats why I covered the whole front in UTEE. And the result is great. Then I added the material and banner.


I got this out of an old dictionary. I highlighted the patience part.


Here you can partly see the UTEE on the left side.
Blessings, Renate

My First Binder/Planner.


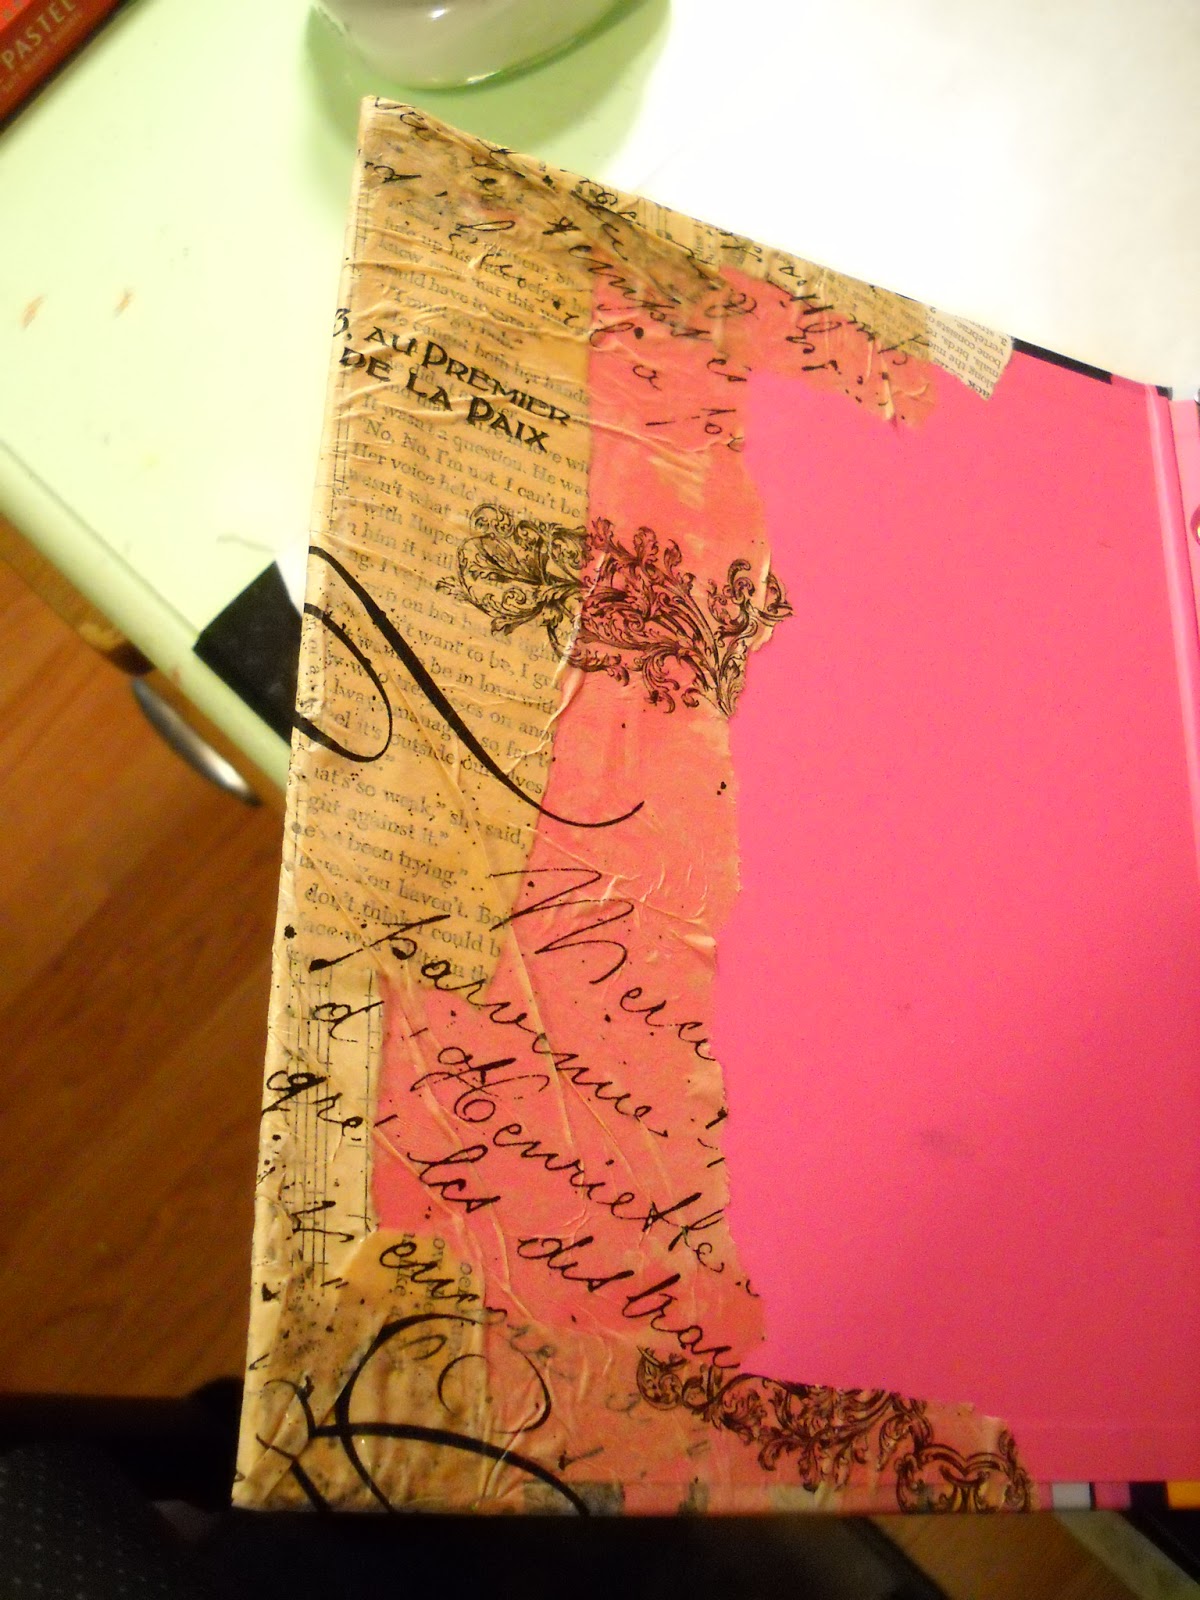
I started by tearing off some of the cover of the binder. I didn't wanted to remove everything. I also left the back in tact.

The back.


On the front I glued different old bookpages that I had.


..including some on the inside.


Then I covered it with tissue paper.


...also on the inside. Then I let it dry.


Then I covered the whole front and part of the inside with gloss heavy gel medium.


And let dry. Then I started adding the pocket and envelope.


I purchased a Fuse Tool, which I like. It works great with page protectors or freezerbags. Here I used a page protector and made 3 pockets and added some little knick knacks.


This page divider I made with homemade paper.


Here I added a bookmark, made with the Fuse Tool.


These 2 pictures are just a front and back pockets.


Another page divider.


Here I used the ziplock bag to add some goodies. I used the Fuse Tool to make it. I found that if you put some cardstock where the holes are punched, it is easier to punch the holes.


Another page divider.

And the last one.
It was fun and also a challenge to complete this book. I got the book and the lined pages and planner inserts (which I didn't take a picture of) at Target. Blessings, Renate

Monday, April 11, 2016

"Coffee Break" Basket.


This basket is made from a 71/2 x 71/2 piece of heavy cardstock. I just tore an old book apart and glued the pieces on the cardstock. Then I went over it with some vintage photo ink.


I used a rope for my handle.


On the round part in front and the back  I used some UTEE on it.

 Back view.


For the silver spoon I used a die from stampin up.


On the side you can see that I just made a knot in the rope.


I used some chalkboard paper for the name on the coffee sleeve. You can just write on it with chalk.
Blessings, Renate

Sunday, April 3, 2016

Origami Pen Holder.


You are supposed to glue the 6 parts together. I didn't, I just used paperclips to hold everything together. I found the instructions on Pinterest. I used 9x9 paper.


You have plenty of pockets on the outside to stash things away.


On the left one I folded the bottom part different, so all the pockets wouldn't look the same. On the right one you can see that you can even put paperclips on the top part.


So much storage!!!


Here you can see the top.


This is the bottom. It doesn't have a cover on it, but you can always make one to set it on, but not needed. It was easy to make and put together. It is also very sturdy. Blessings, Renate