Sunday, October 9, 2016

New Cover and Inserts for my Fauxdori.


I made it out of cardboard (3 pieces). Then I glued cardstock in the front and back. On the outside I added some tissue paper which I glued on with Mod Podge. Then I put 2 coats of Heavy Gel Medium on it, which I spread with an old credit card.


I added 4 eyelets and my elastic.


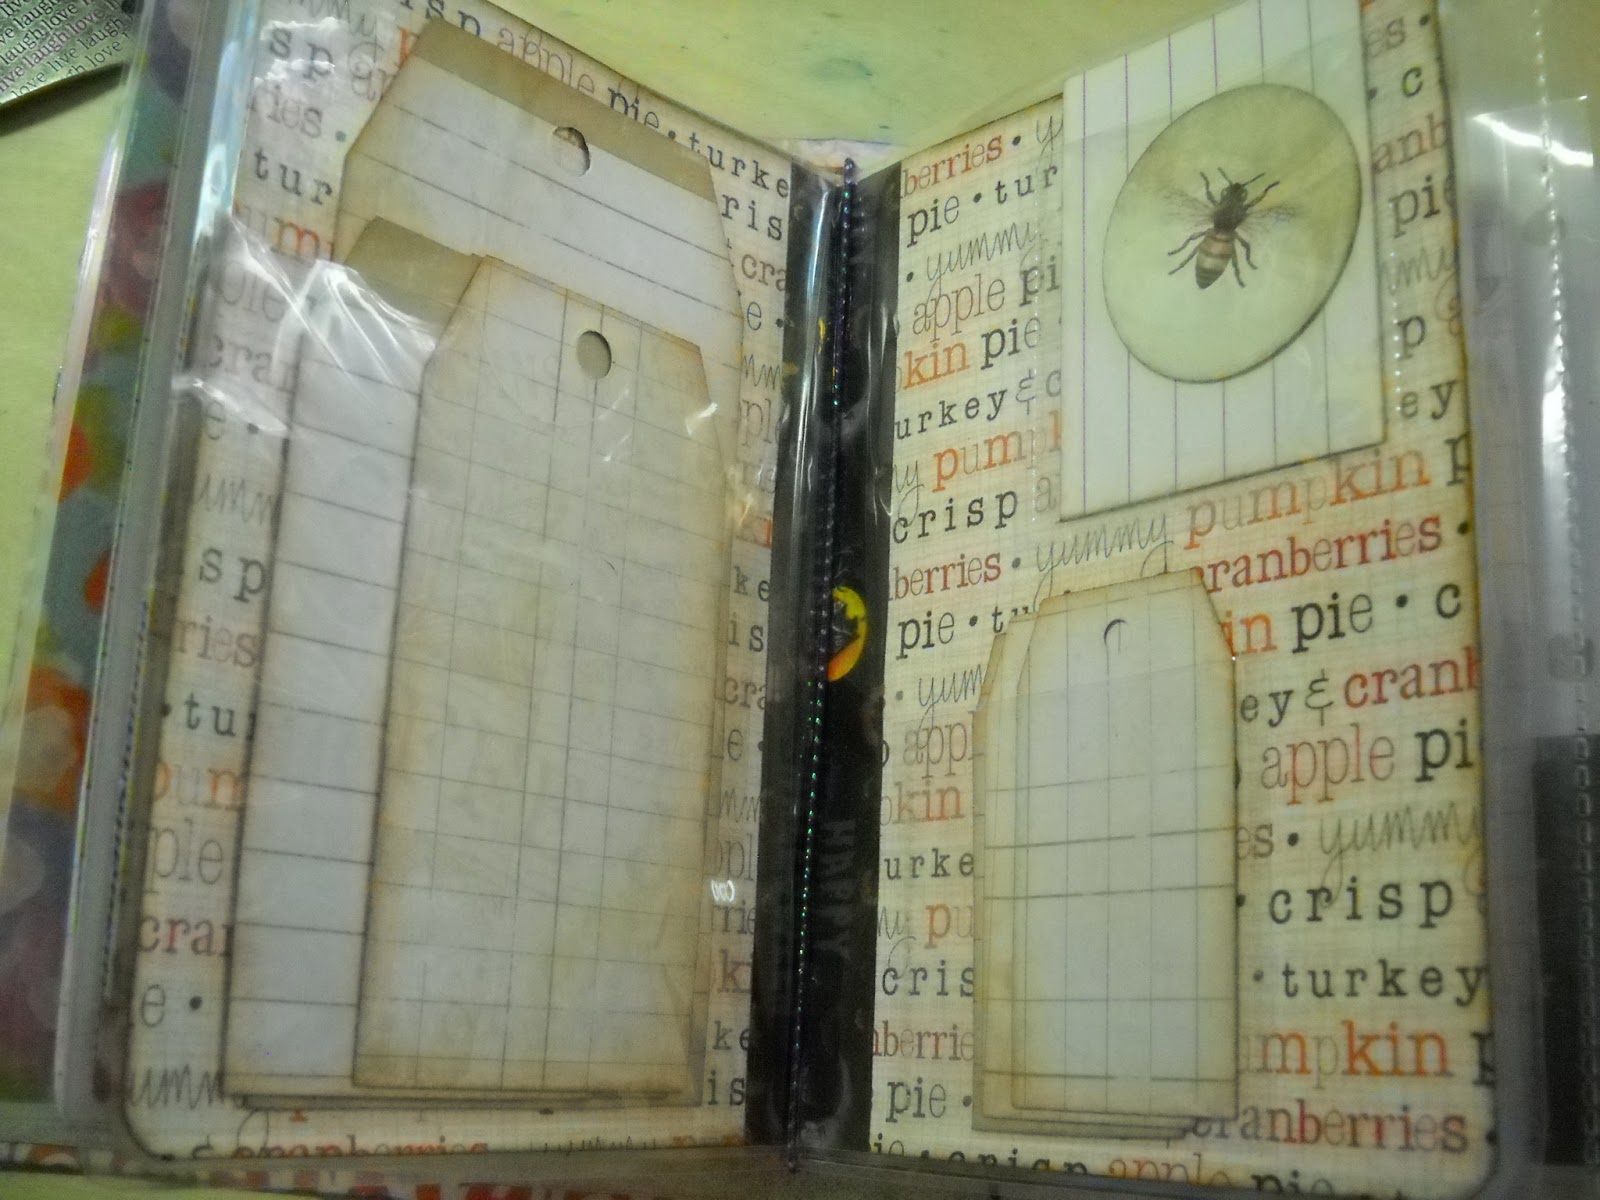
I laminated some cardstock and put my post-it-notes and page flags on it.


Shaker insert for the center.


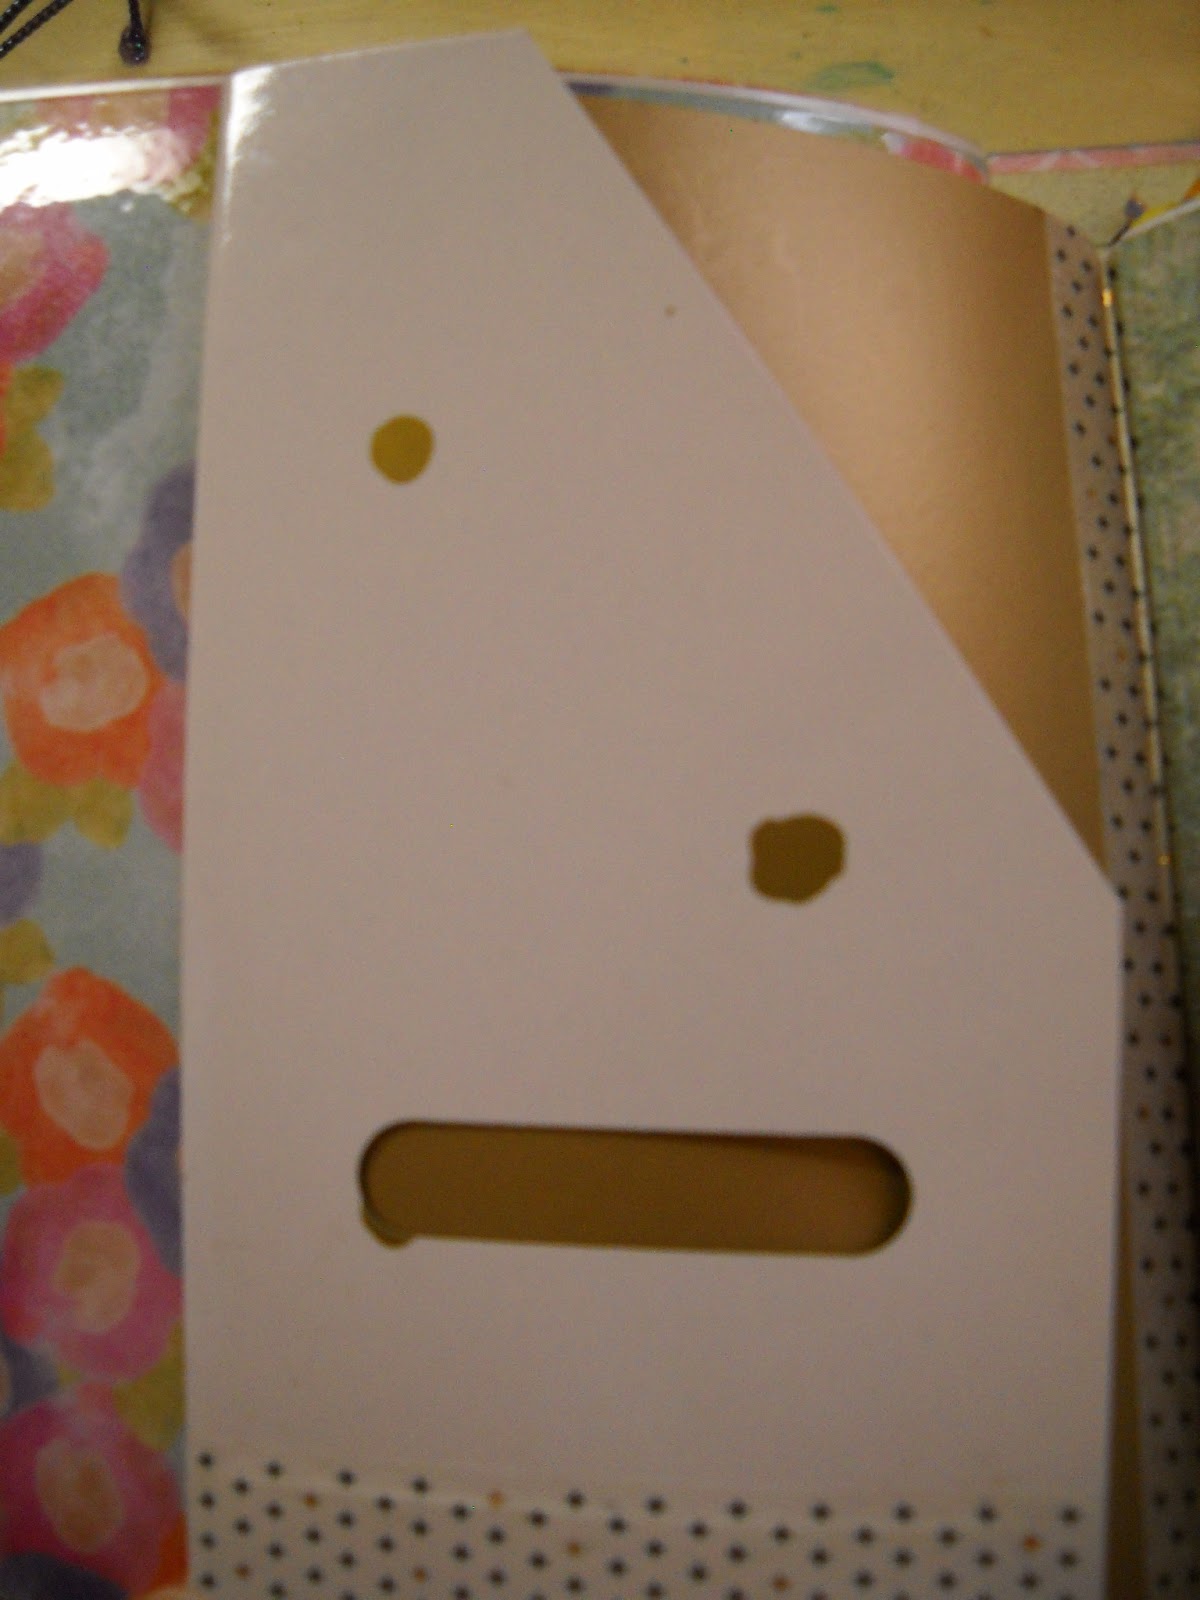
Pocket insert made from a file folder.


I had fun updating my Fauxdori. I'm sure I will be making more adjustments down the road.
Have a great Sunday everyone...Renate

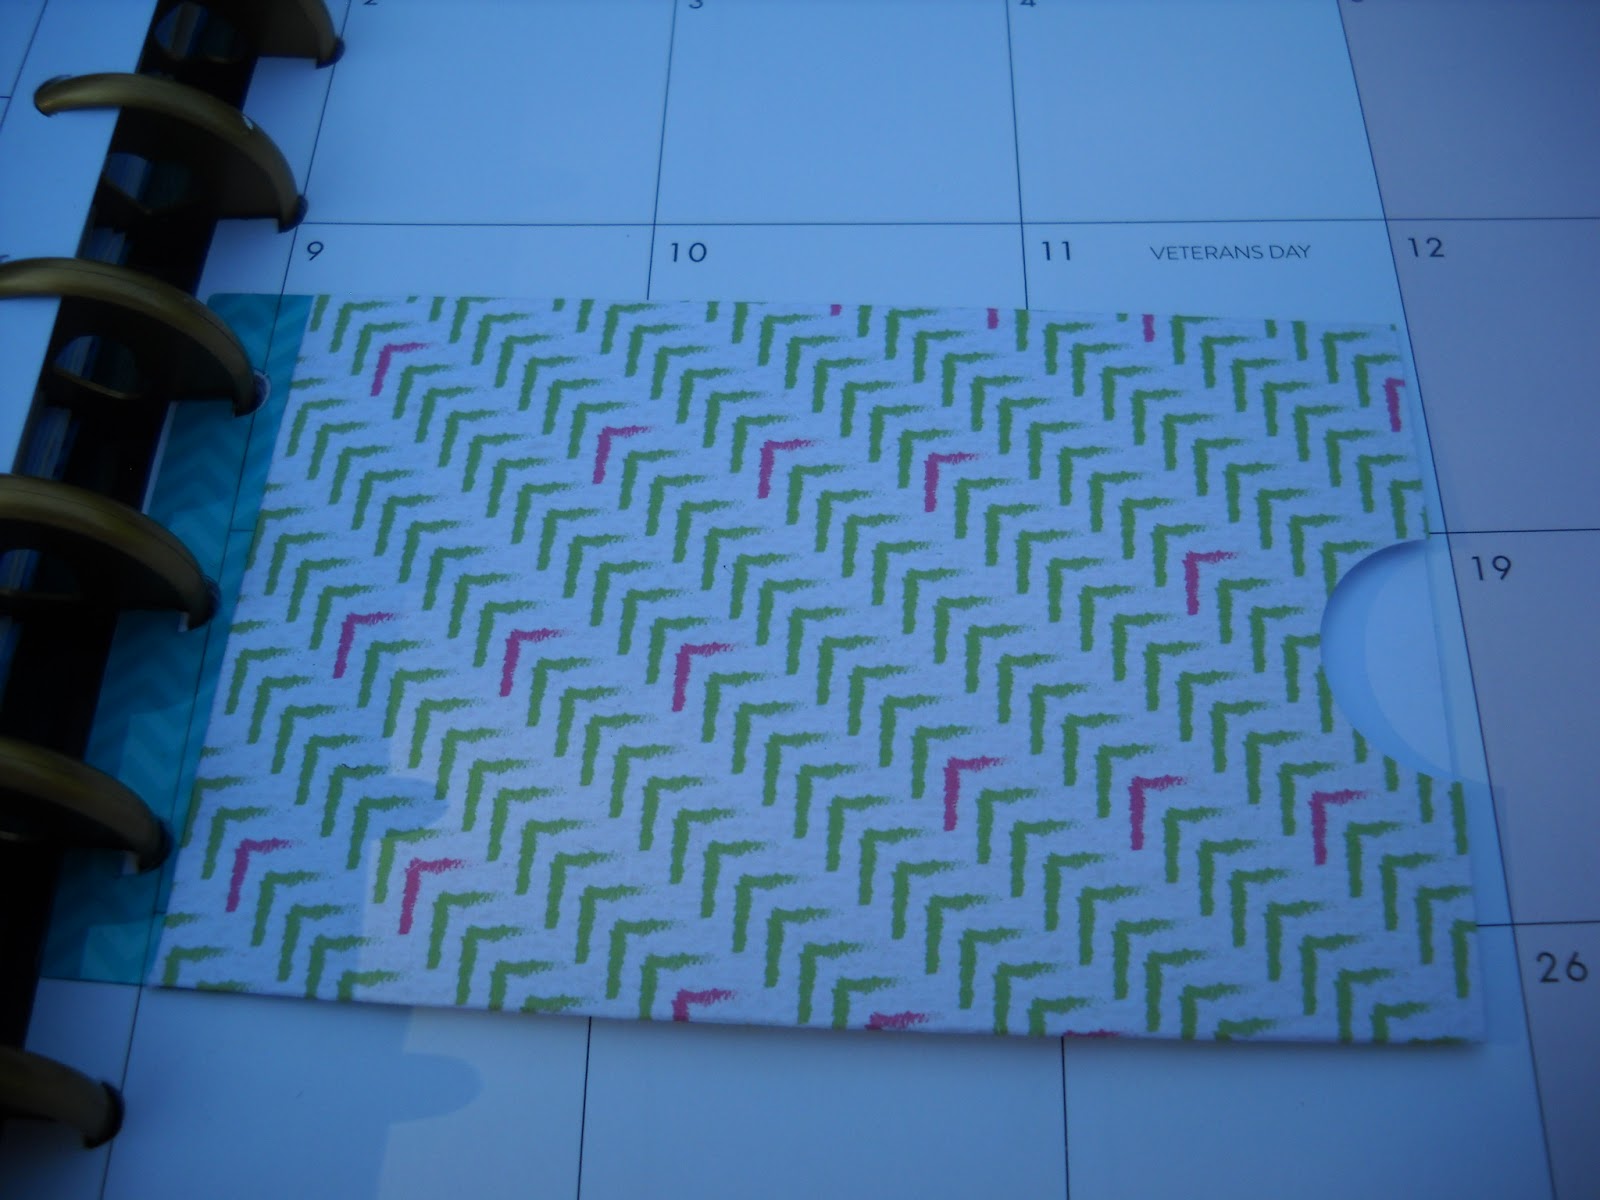
Laminated Pocket Insert for my Fauxdori.


I started out with an 8 x 5 1/2 piece of paper. I glued the same pattern on the other side too. I also rounded the corners an inked the edges in walnut stain ink.


I added some Washi Tape in the center. It does not laminate well.


I found this tutorial on You Tube from Crystal & Company. I chose to make one big pocket and two small pockets on the other side. I adhered them with some double-sided-tape before putting it thru the laminater.


It turned out quite well, except for the center where I had the Washi tape. It did not bond with it.


I hope you will give it a try, Renate

Monday, September 5, 2016

My Happy Planner.


I found these bags at Walmart. These are just perfect for laminating.


I laminated 2 bags side by side to make a coverpage overlay.


I laminated the front page seperately.


This is the backside. This way if I want to, I can just flip it over and use it as the front page.


I just laminated a few things for my planner.


I want to make my planner coffee themed.


A coffee mug page magnet.


Here I used a bag again, but cut it out to make a shaker bookmark.


Other side of my magnet.


Close-up of the shaker book mark. I will post updates as I get to add stuff to my planner.
Keep crafting - Renate

Sunday, August 28, 2016

My pallet Night Stand.


I've seen something similar online. I thought what if I use 2 smaller pallets (which my daughter Samantha had) and make a night stand out of it. My Husband,David, put it together for me. All I had to do is sand it and Mod Podge the top with old book pages and old dictionary pages. David found the old metal crate at an Antique store. He just sprayed it with silver paint. I love it.
Blessings, Renate


Mixed Media Canvas.

.
I glued some acrylic skin on the canvas. In the corner I added a medicine vial.


I made an origami cube, that I glued on the canvas.


I painted the background and covered it with tissue paper, and just went from there by adding different things to it. Blessings, Renate

My first Happy Planner for my daughter Tabatha.


I laminated the cardstock on 3mm, and run it thru twice. Then I put it in an other sleeve and run it thru twice at 5mm, to make it sturdier.


This is the inside.


She loves anything "Beach". So, I made her a beach shaker pocket with real beach sand.


These are 4 pockets made with a sheet of trading card pages and cut and fused to size.


Here I just used a folder I found at the dollar store.


These clear adhesive pockets, are from the Dollar section at Target. I just made the tag to put in it.


I laminated a beachy cardstock and then added epoxy stickers and a 3D palm tree.


I've seen a tutorial on You Tube, where someone used a flexible cutting board from the Dollar store to make these page dividers. Love that idea, and they are very sturdy.


Pockets.


I like that quote. I used oil pastels for the background then printed the quote on it.


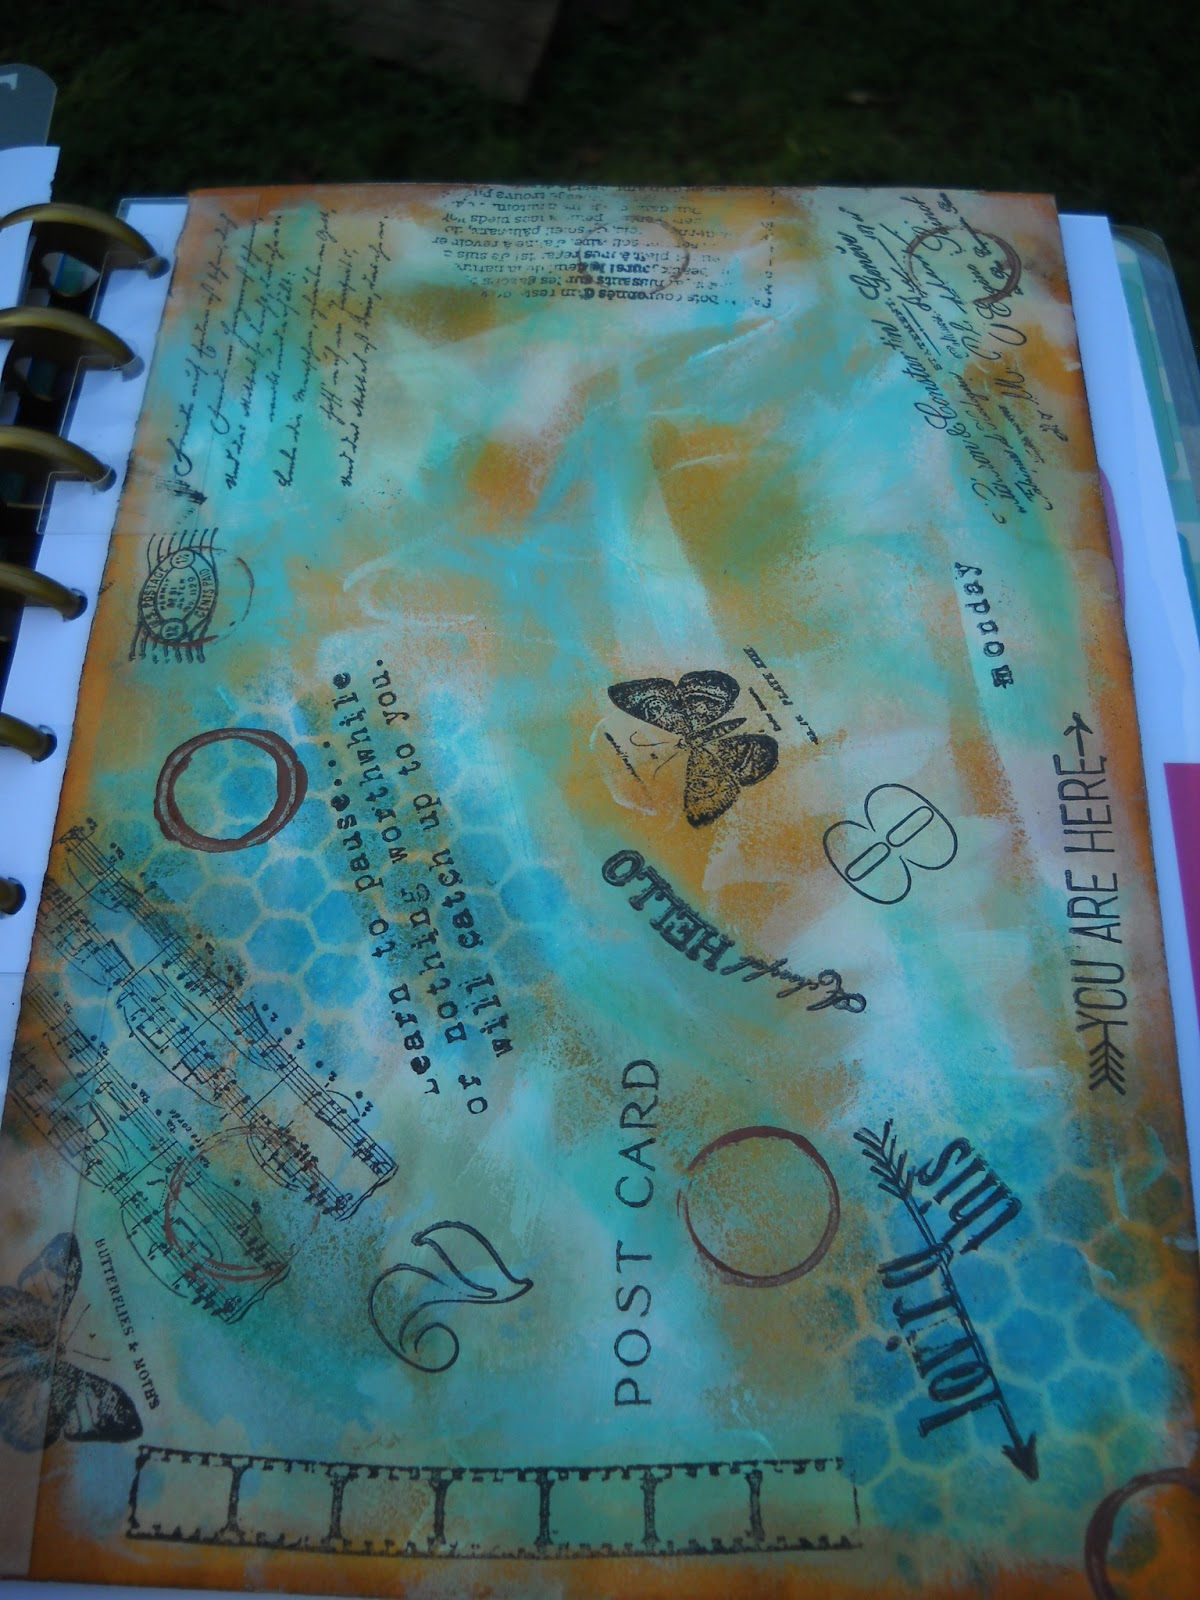
Mixed media envelope.


Just a little board with flags and paper clips and post it notes.


On top of this pocket is also a clear pocket.


A leftover from the flexible cutting board. on top are 2 small pockets.


Ziplock bag for anything.


She likes Johnny Depp. I just laminated the picture quote and put it in the planner.


A little adhesive pocket from Heidi Swapp. I attached it to a sturdy folder piece. The pocket only has 2 strips of adhesive in the back, so I added a few more strips of double-sided tape.


I laminated the back, the same way as I did the front.


It was fun creating this Planner. I hope you give it a try. I'm working on my Planner now. I paid 18 Dollars for the Planner with my 40% off coupon at Hobby Lobby.
Blessings, Renate