Monday, April 6, 2015

Mini Travel Art Journal for my daughter Samantha.


This is my 2nd Travel Journal. I used the grunge stamp set from SU and Tim Holtz stamps.


The raindrop stamp is from The Scrapbook Diaries.


I made an embossed acetate pocket for the center.


I just added a little insert. I used a little UTEE on the outside.


There I added another pocket for a tag.

This is the back.
I hope everyone has a great week.
Blessings Renate


Sunday, April 5, 2015

Mini Travel Art Journal for my daughter Tabatha.


I got this from a tutorial from: jen of eve designs. Thanks for the great tutorial.


On the left outside I attached a mini ziplock bag. I also punched my holes 1in. from the edge.You were only to punch 2 holes in the first crease you scored, but I also punched holes on the other crease. That's why I have 2 Booklets beside each other. It worked out ok though. When I fold it up, I just fold the right booklet over the left one.


Here you can see the 2 booklets side by side.


In the first one I also added a pocket.


This is the 2nd booklet. This is a card I recycled.


On an other page I added 2 mini envelopes.


A quote I liked.


On the right is a pocket.


This is the back. The bow in the middle always stayes tied. I stamped on the outside before I covered it with gel medium to seal it. It worked out great even though I punched too many holes.
I hope you all give it a try. These are fun to make.
Blessings Renate

Thursday, March 26, 2015

Tuesday, March 24, 2015

File Folder Card.


This is the file folder card I used in my tutorial. I embossed it and used acrylic paint and Utee over it.


I used a smaller file folder and used distress inks on it and splattered it with water.


I just glued down one side of the little file folder, so I would still be able to write a note on the other side. For the lines I just dipped a metal ruler in ink and stamped it on there. On the edge I just used some washi tape.
Blessings Renate

File Folder Card Tutorial with a Window Word Punch.


Cut an 8 1/2 x 5 1/2 piece of cardstock. Then score at 4 1/4.


 Then cut 1/2 in. off on on side.


Then mark 1/2 in. along both insides. For the front tab, measure 3 in. down and mark on the line.


 Then for the other side mark 3 in. up from the bottom.


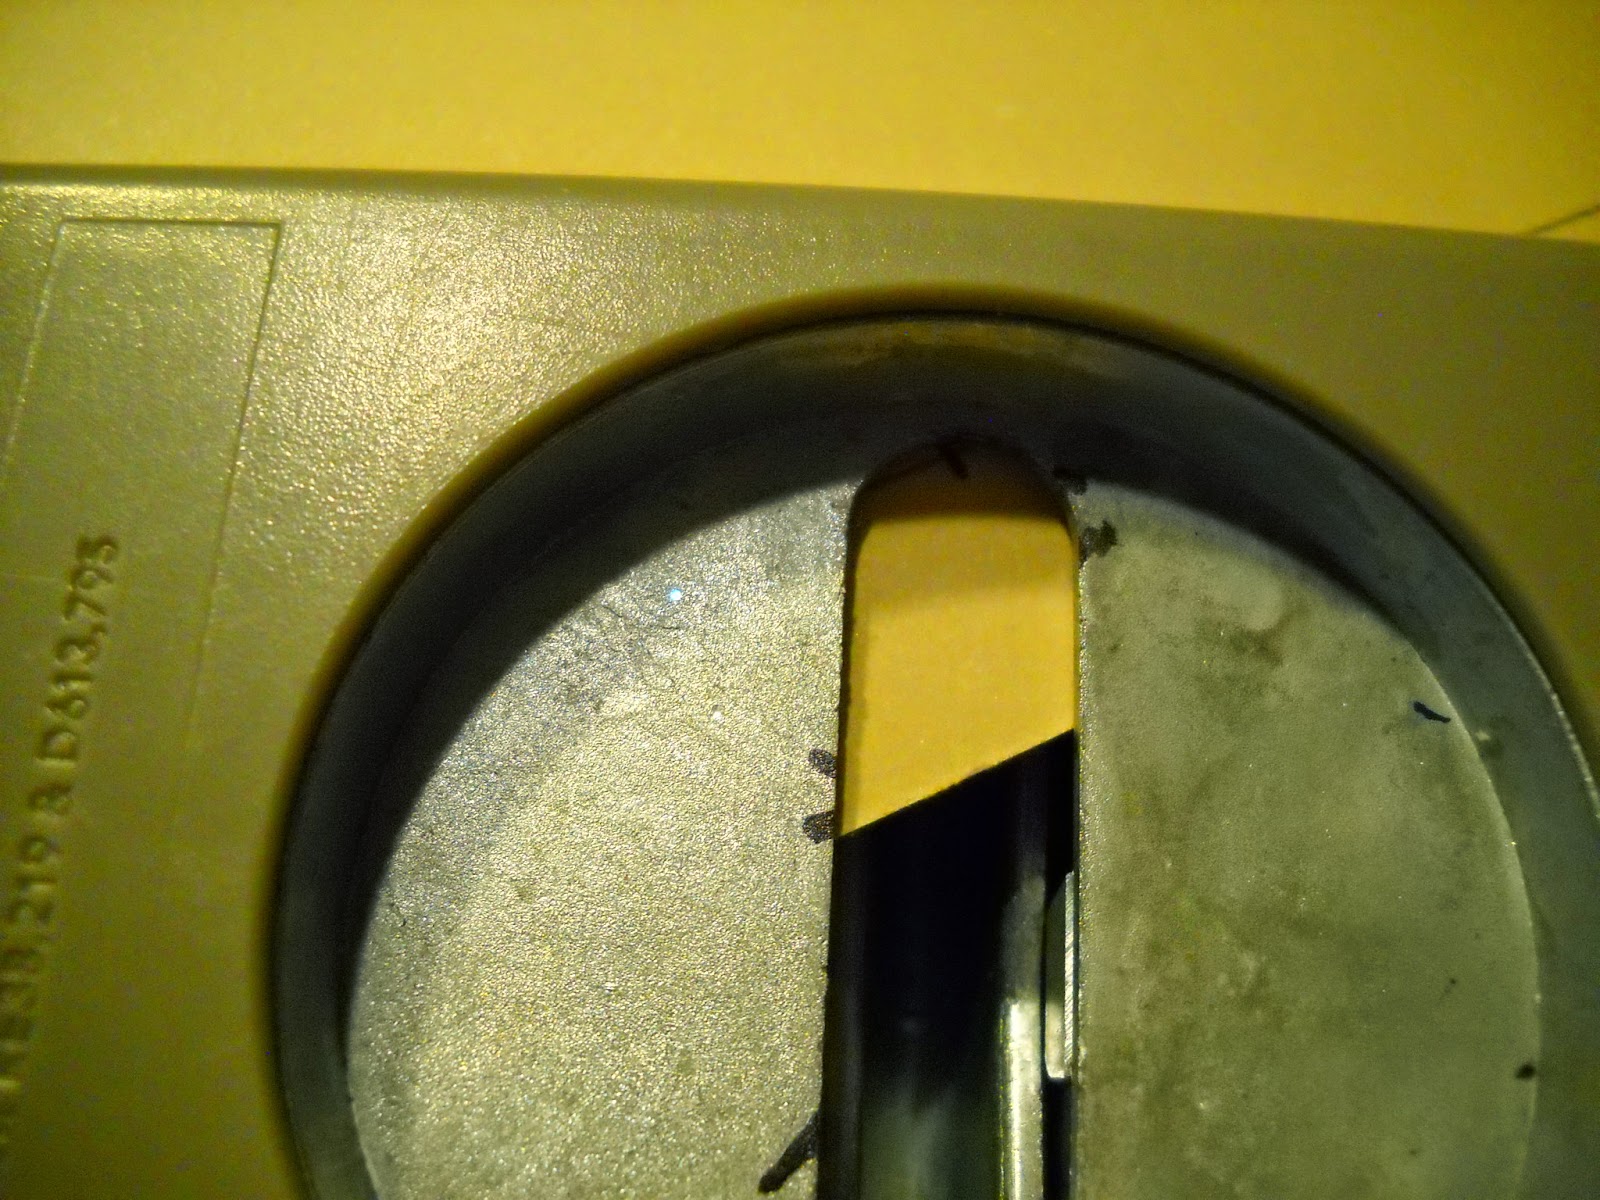
Now take your punch and line it up for the outside notch on the line.


Now take your punch and try to center the 3 in. mark and punch.


And then cut the right strip off.


Here is the other side.


This is what it looks like after you punched it.


Then just cut it along the line.


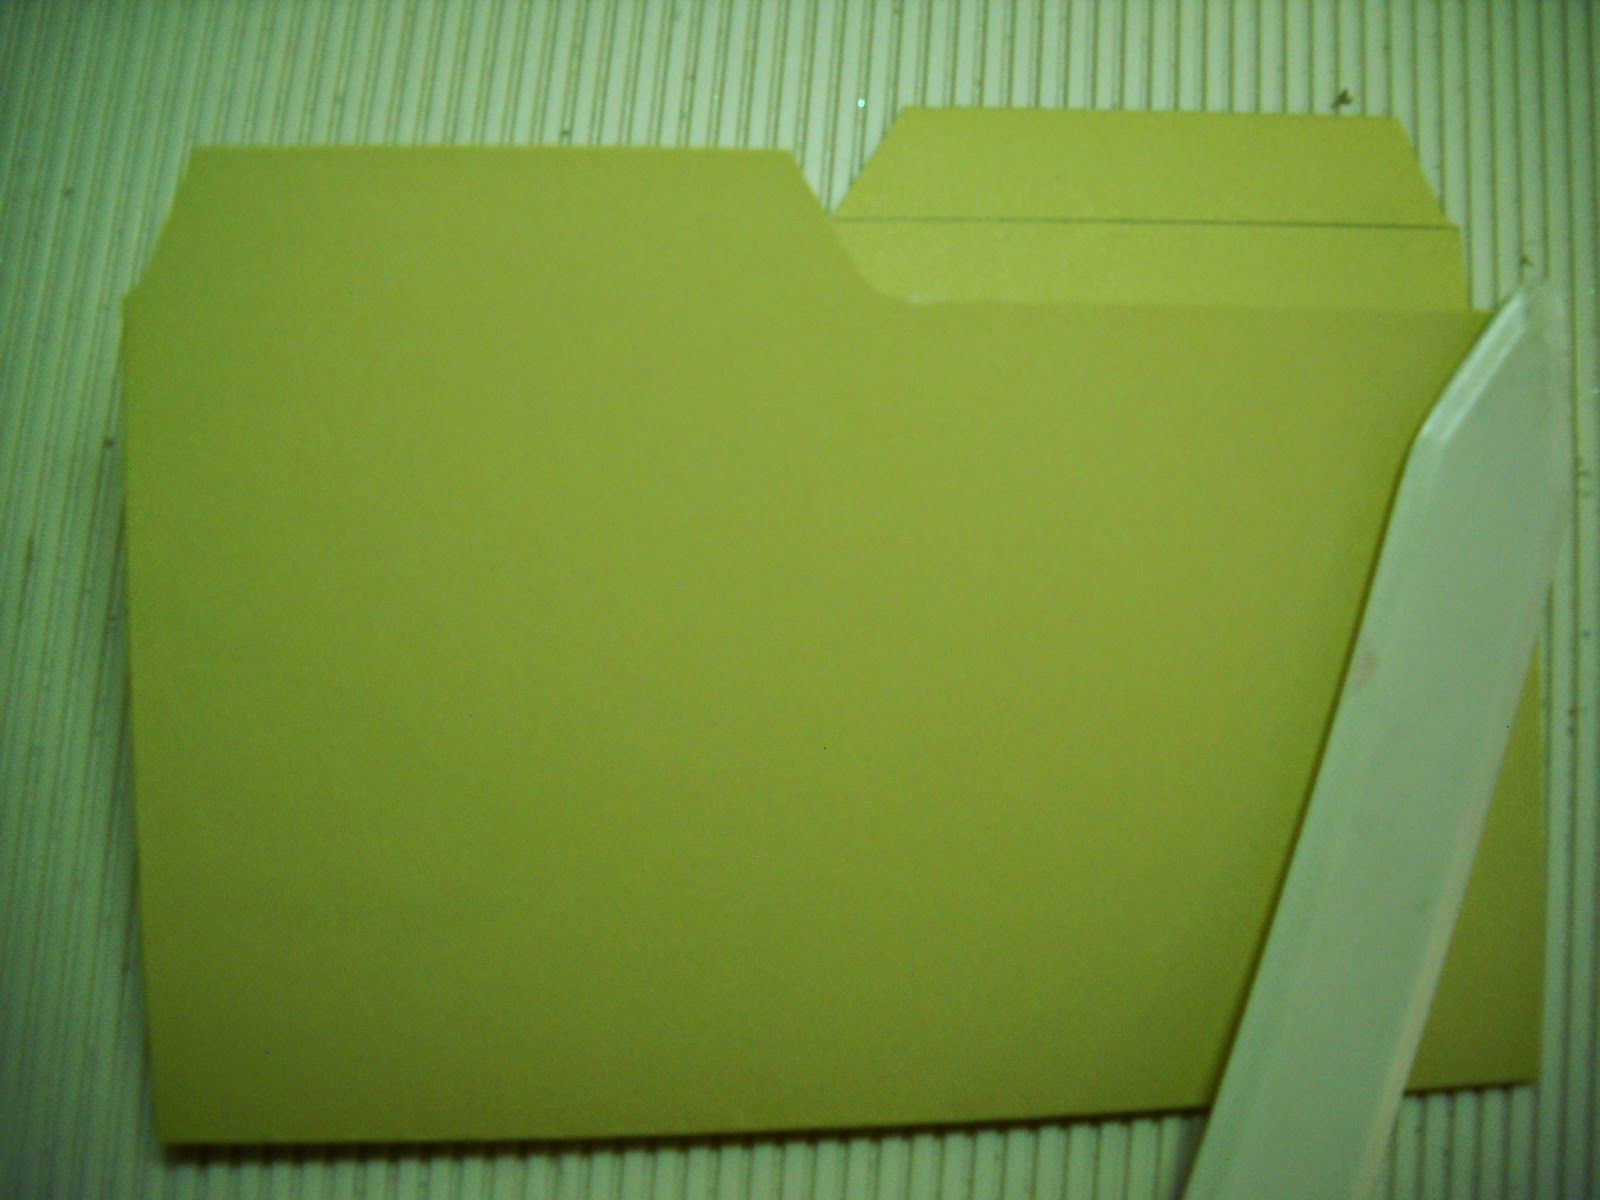
There is your file folder card.


All you have to do is to erase the lines.

I hope this helped. It took me a while to figure this one out. But it works great. I just didn't wanted to invest in an envelope punch board since I have the Martha Stewart one. Have fun creating.
Blessings Renate

File Folder Card made with the word window punch.


I just used the paperclip to hold the card shut while I took the picture.


On the tag I just used distress inks and splattered some water on it.
I will make a short tutorial in a few days to show how I used the word window punch to make this card, since I don't have a envelope punch board.
Blessings Renate

Saturday, March 21, 2015

My Mini Album.


The left side folds open. So does the right little insert.


The right side folds open.


The left pocket has a acetate window. on the right side you can turn the circle to open the card.


The left side has 2 pockets. the right side got one pocket.

 Insert from left pocket.


 On top of right pocket.


The backside has an acetate pocket.